 English
 Français
 Deutsch
 Español
Este artículo aún no está disponible en tu idioma. Se muestra la versión en inglés.
Getting Started
Media Studio: turn shots into Scenes
Create video scenes from selected storyboard shots, check frame prerequisites, references, durations, and render settings.
YieldBI TeamGrowth ResearchActualizado oct 2026
En esta página
The Scenes node takes selected Storyboard shots into video generation. It depends on the plan and frames you prepared earlier, so review the Storyboard guide first if the shot list is still empty. Reconcile the current shot total with your desired runtime before rendering.
1. Start from selected shots
Open the Scenes node after connecting or creating the Storyboard output. Review the selected shots, their order, and their total duration. The app requires a generated frame for every selected shot before it enables scene generation. If Generate scenes is unavailable, return to Storyboard and render the missing frames.
The selected shot list is the source of truth for this generation. Remove a shot you do not intend to render, or add and frame a missing one. A plan’s target length is guidance; the actual shot durations determine the current total. Check the total after any reordering or trim.
2. Check references and continuity
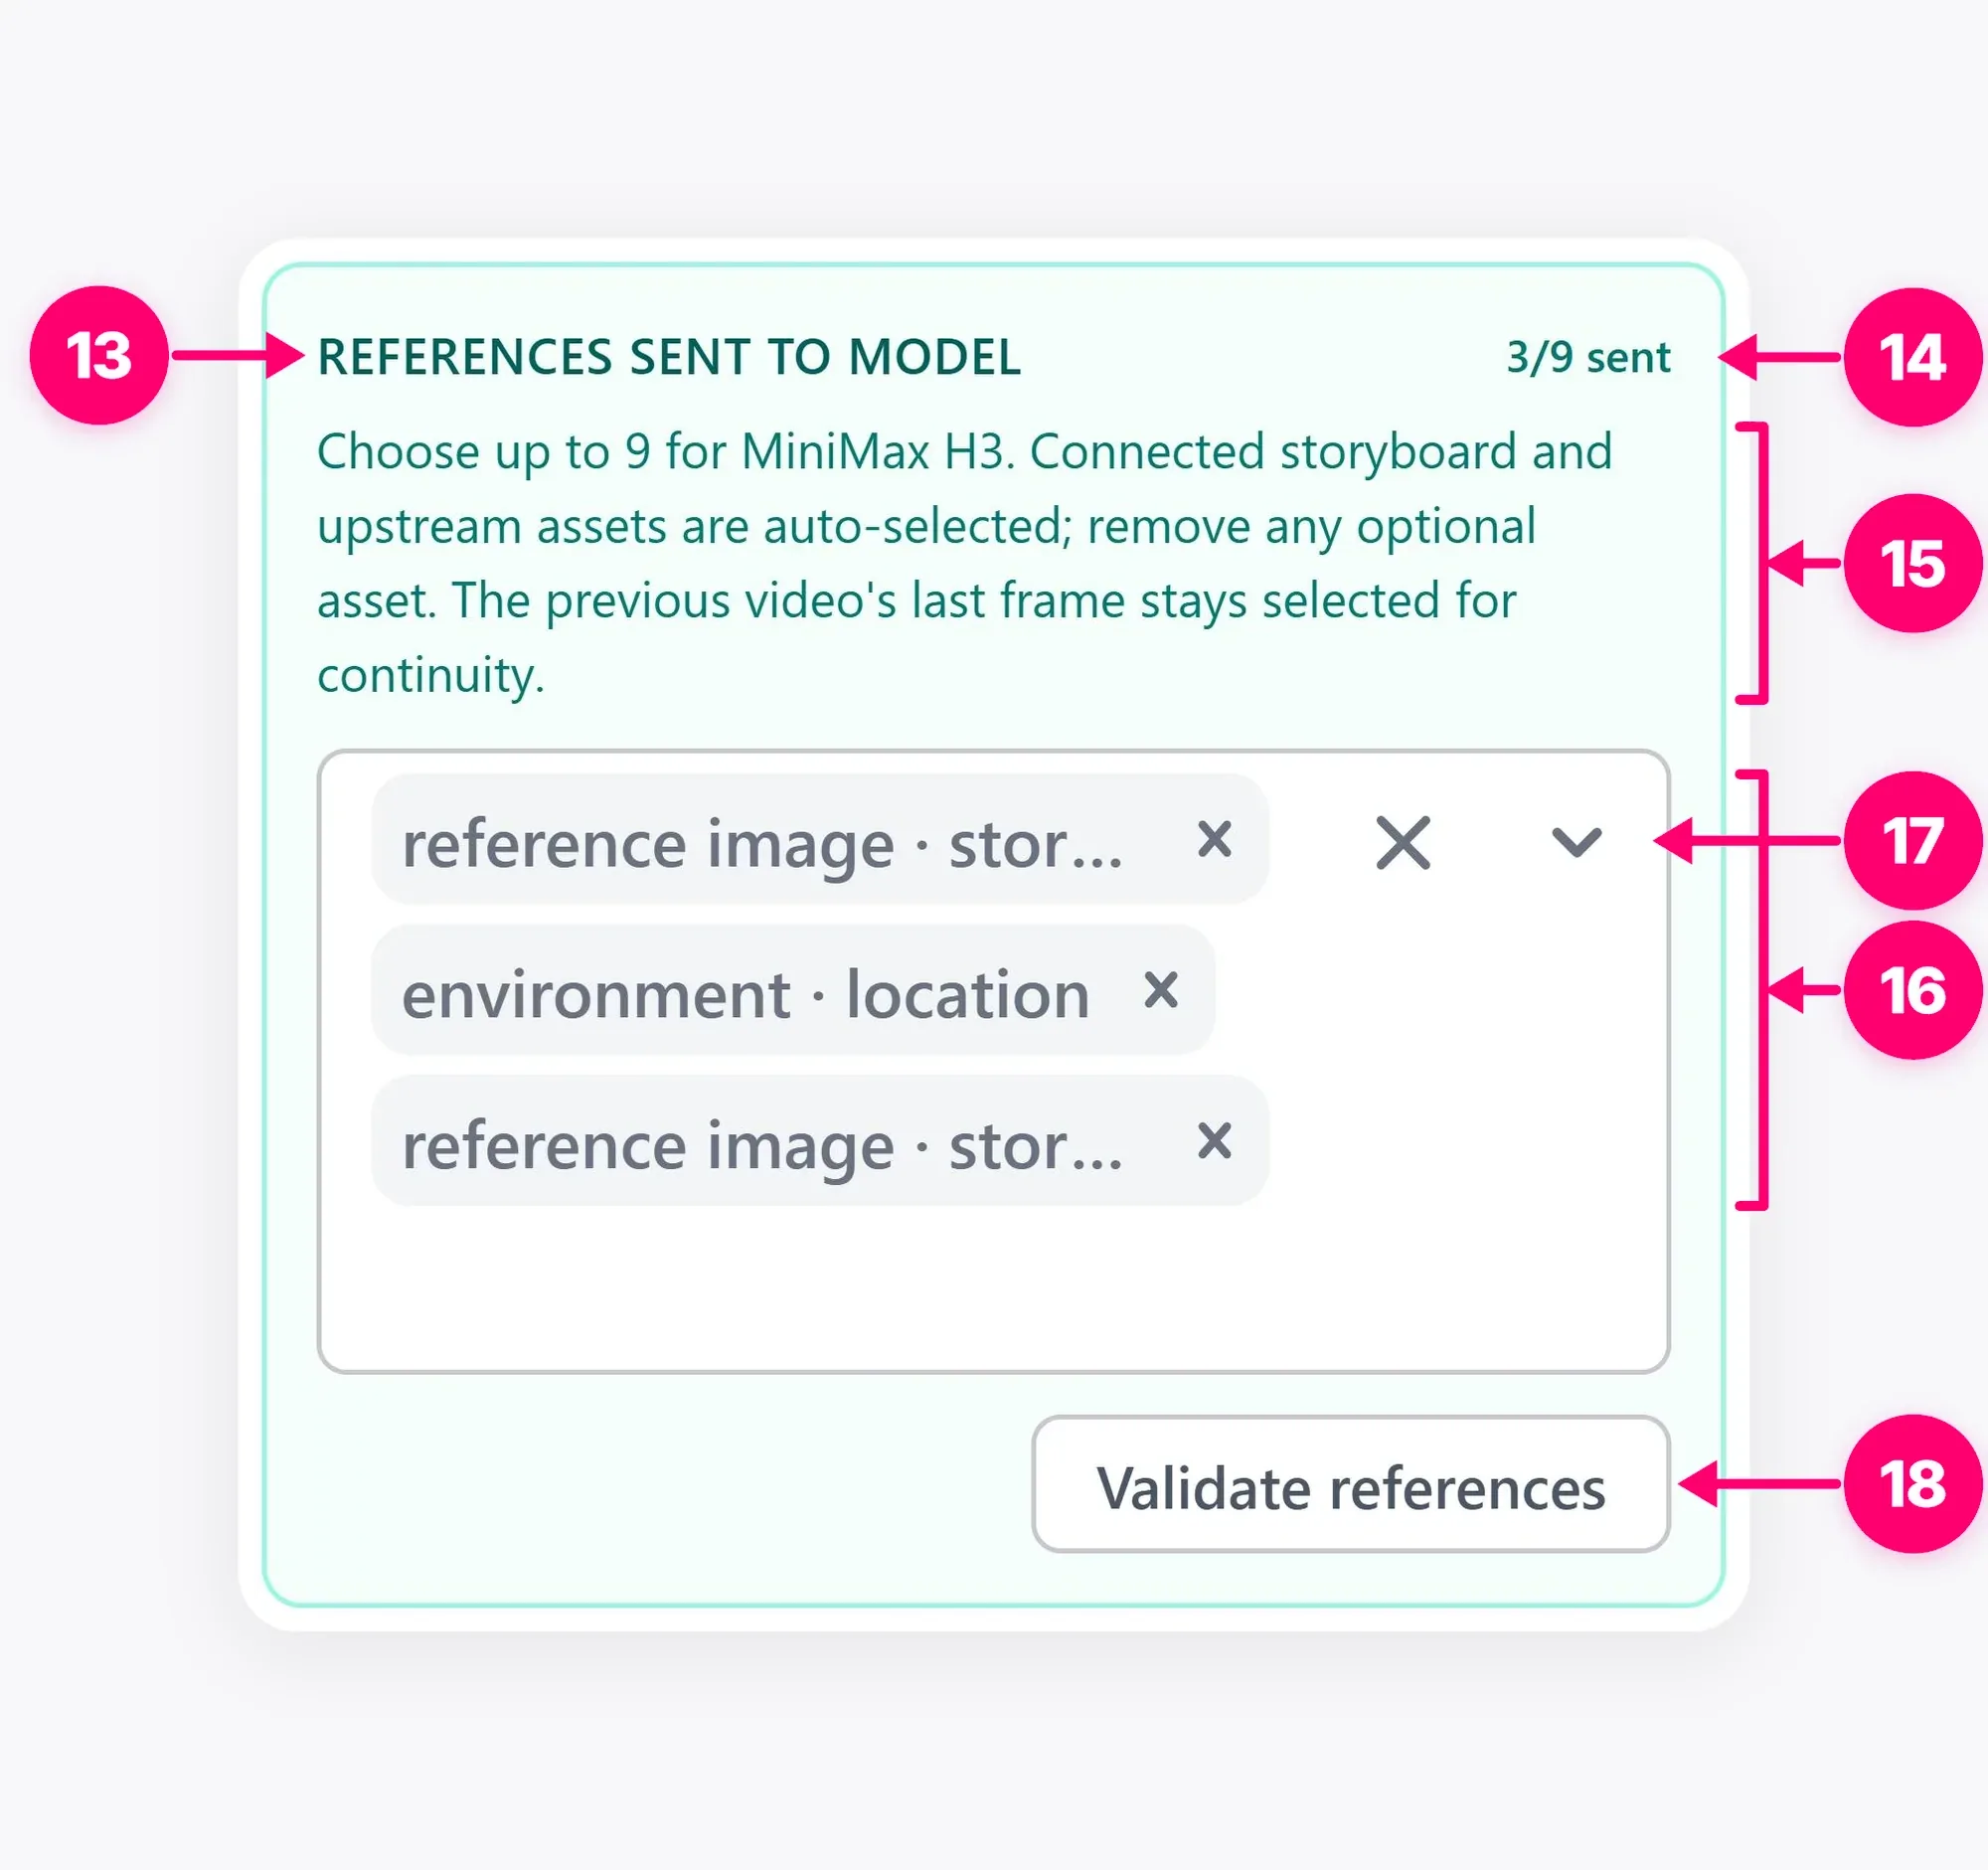
Open the reference controls and confirm which actor, product, setting, outfit, or brand outputs should guide each scene. A connected source may be available without being selected for the actual request. Where the app offers reference strength or roles, use them as guidance, then inspect the resulting video for continuity. AI video can alter a face, packaging, logo, or environment despite a source image.
Check the visual sequence as a viewer would: do the shots make sense in this order, does the product remain recognizable, and do lighting and wardrobe changes look intentional? If a scene introduces a claim or CTA, verify it against approved campaign copy before moving on.
3. Choose video settings and render
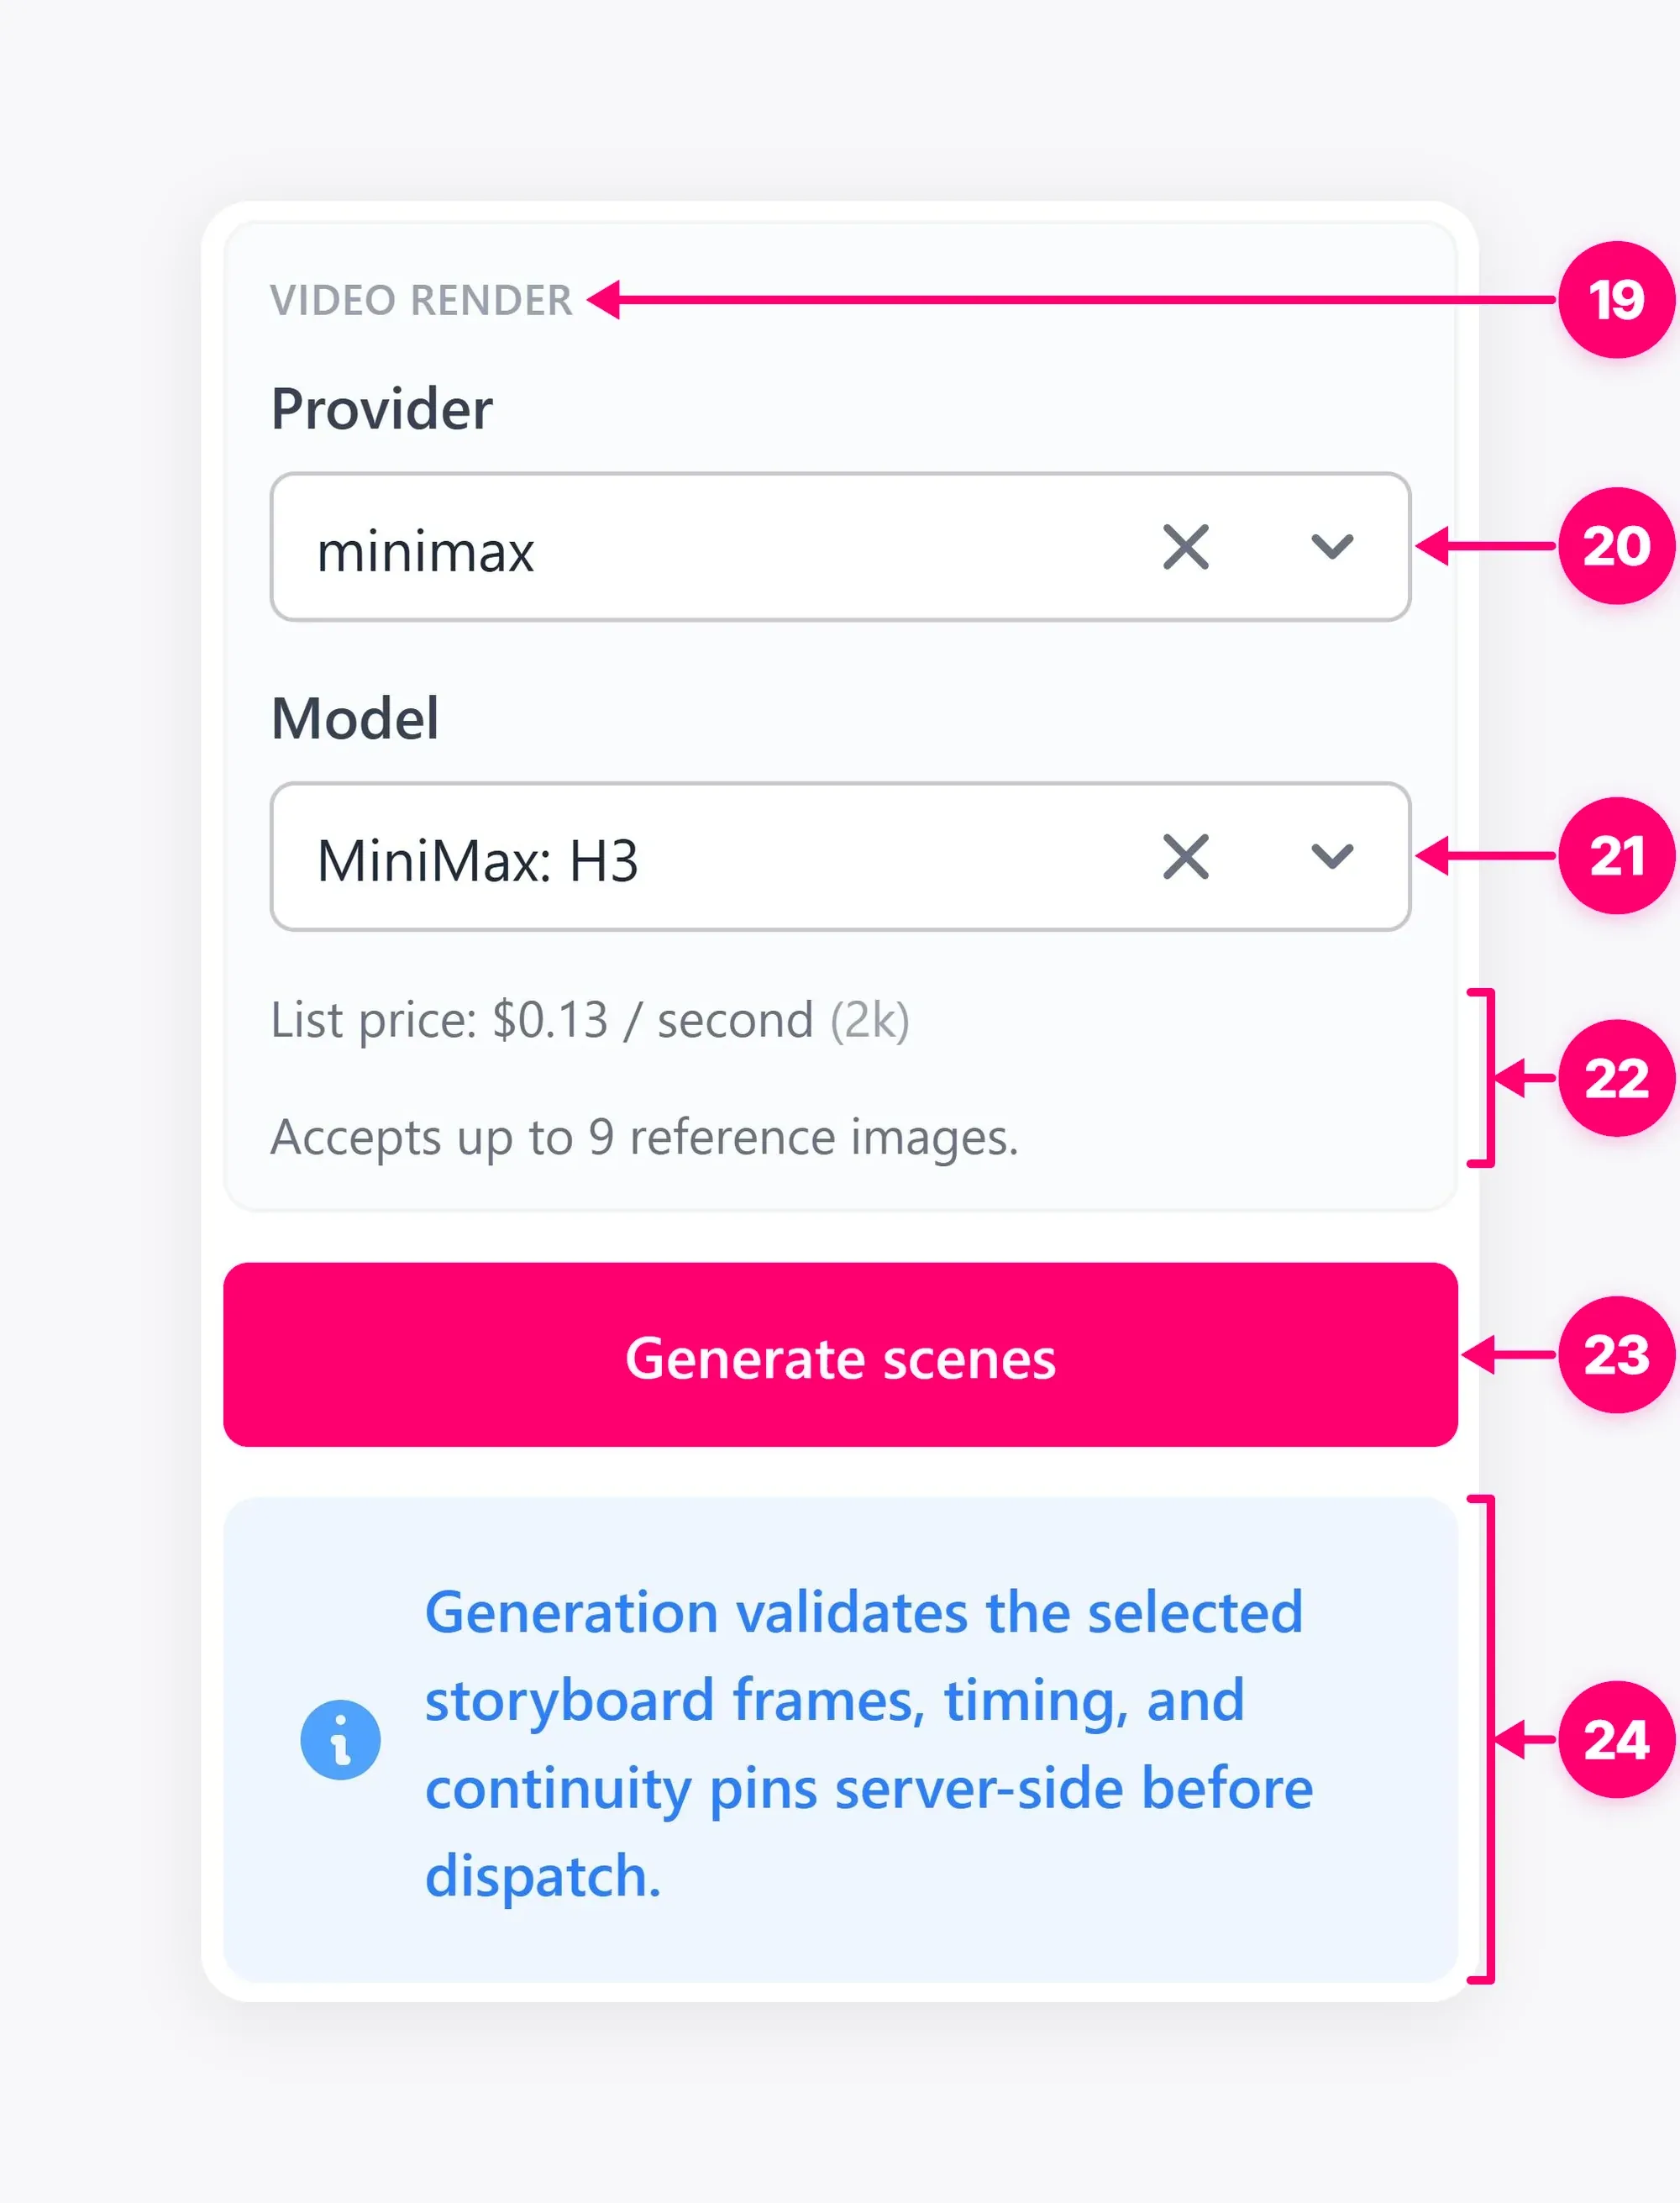
Select a video model available to your account. Supported clip lengths and other options depend on that model; a selected shot duration may need adjustment before rendering. Review the settings and estimate shown in the app, then start the render. The model and pricing in the example screenshot are not guaranteed choices for every account.
When the output is ready, watch each scene in full and check cuts, timing, motion, actor appearance, product fidelity, and audio where relevant. Regenerate any scene that fails the brief. A completed render is still a draft creative until you have reviewed and approved it for the intended use.
For a single image rather than a video sequence, follow the Static Ad guide. You can use the same approved source assets while skipping shot and video planning.
Lecturas relacionadas
Connect source assets, choose a planning model, write a storyboard brief, and generate visual frames for every selected shot.
Getting StartedDefine a Media Studio location, add visual references, render a location set, and connect the result to a creative workflow.
Getting StartedUse the Brain node to turn a creative brief and selected source assets into a reviewable plan before generating images or video.